-
Start here
-
Navigation
-
Adding a Client
-
Your ClientShelf
-
Tags Page
-
To-do List
-
Reporting
-
Questionnaires
-
Contacts
-
Calendar
-
My Account Menu
Tags Page
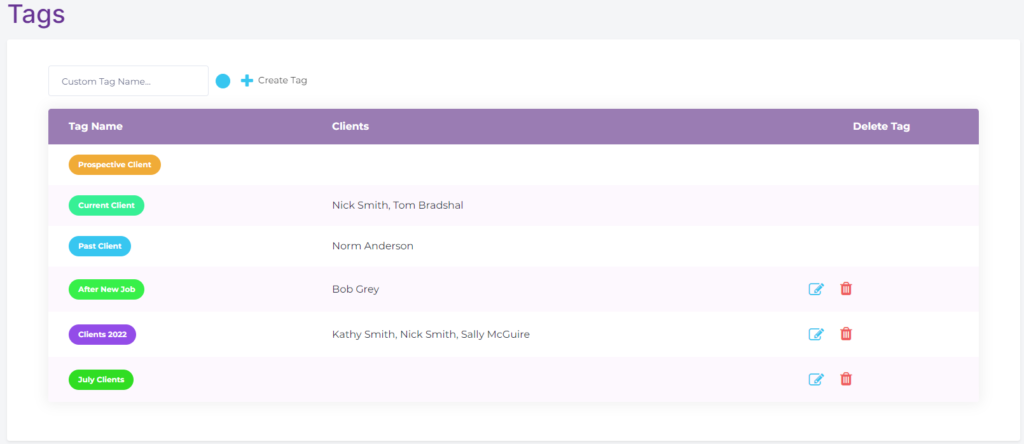
Clicking on Tags on the Clients Menu will bring you to the Tags Page. Here you can create custom tags, have an overview of which tags are associated with which clients and delete custom tags.
Viewing the Tags Page
Creating Custom Tags
At the top of the page, there is a Custom Tag interface. This allows you to create your own tags in your own colours. The custom tag interface also exists in the Client Record tag section allowing you to add custom tags easily to a client.
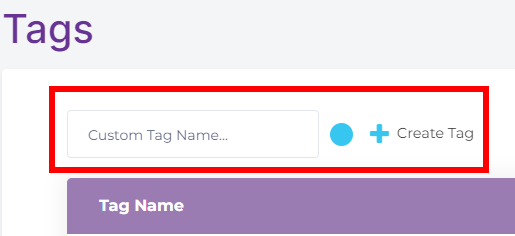
To add a custom tag, simply type a name in the Custom Tag Name field, click on the colour dot to select your colour, and then click Create Tag.
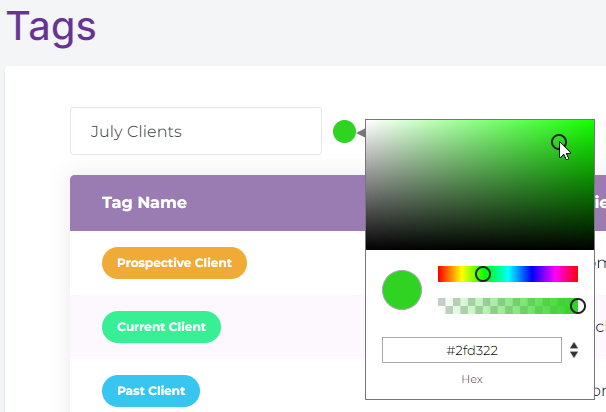
Adding Custom Tag to Clients
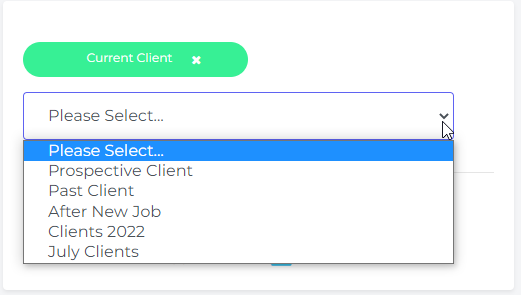
Once the tag is added it can be used in the Client Record tag section from the dropdown menu.
Tags List
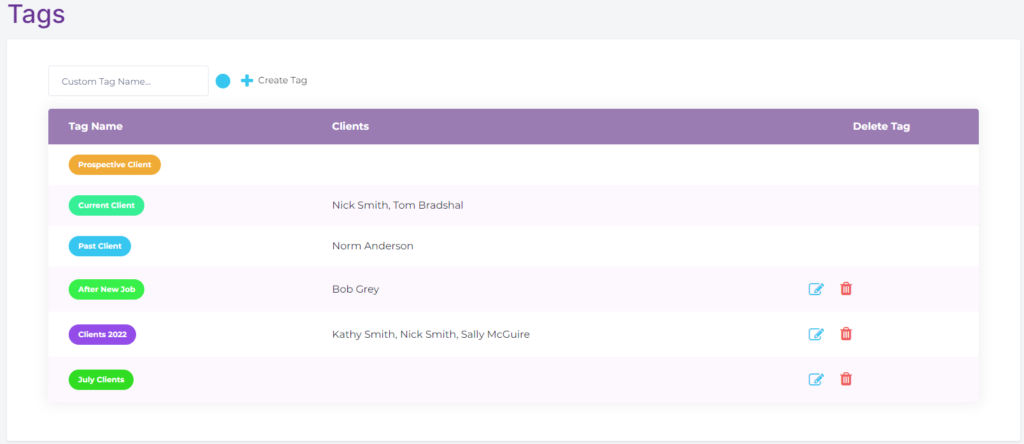
The Tags Page also allows you to see all your tags and which tags are associated with which clients.
Edit Tags
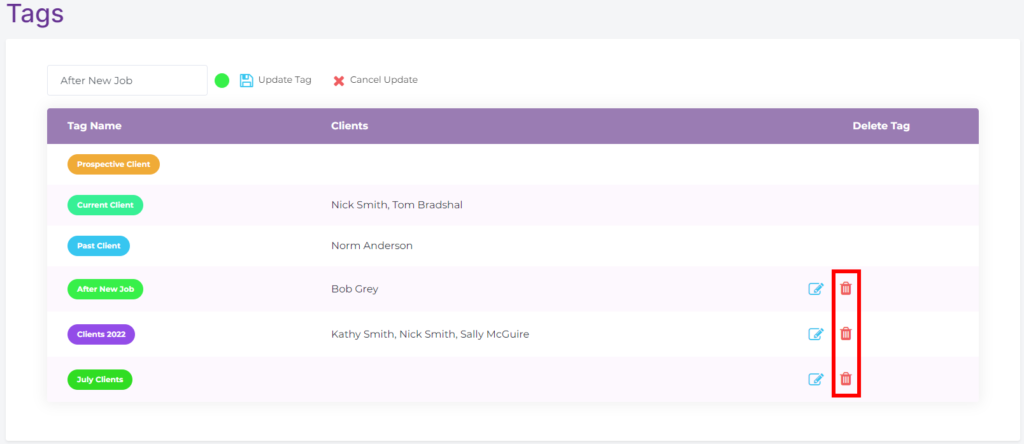
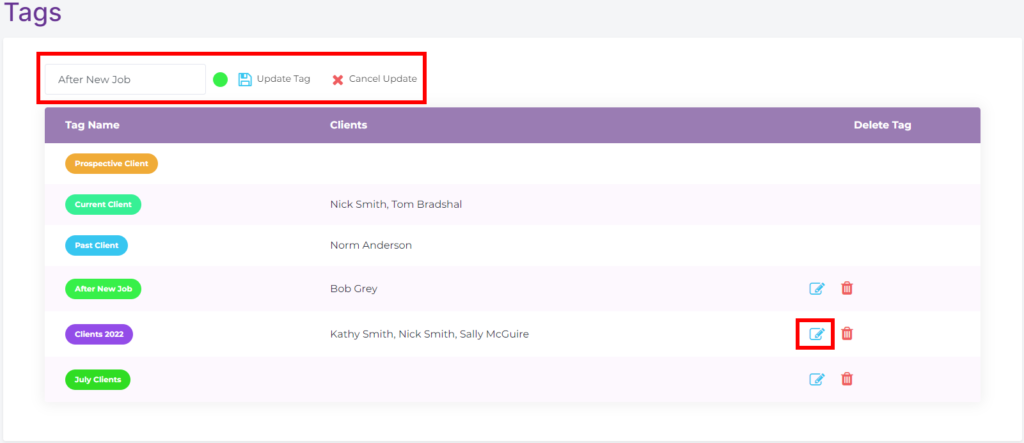
The Tags Page is where you edit custom tags. Click on the edit button next to the tag you want to edit. The tag will show in the tag editor at the top. Here you can edit the name and colour of the tag. Once done click Update Tag.
If you don’t want to change the tag click Cancel Update.
Deleting Tags
The Tags Page is where you delete custom tags. The trash bin icon on the right allows you to delete the custom tag. Deleting a custom tag will delete it from all clients associated with it.
On the list above you will notice there are three tags with no ability to delete. These are – Prospective Clients, Current Clients and Past Clients. These are pre-set tags and cannot be deleted. You can learn more about these tags here – Add client tags.
