-
Start here
-
Navigation
-
Adding a Client
-
Your ClientShelf
-
Tags Page
-
To-do List
-
Reporting
-
Questionnaires
-
Contacts
-
Calendar
-
My Account Menu
Send a Client Invite
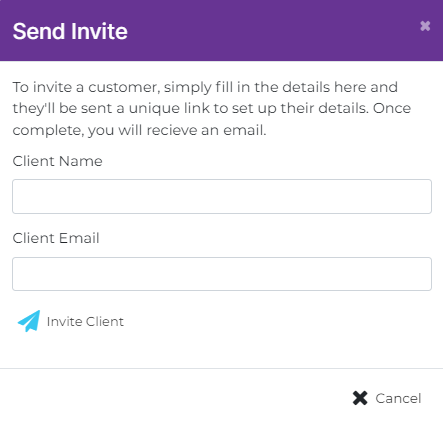
How to send a client invite. Click on Send Invite and a popup window will come up. Simply enter the name of your client and their email.
Then click Invite Client.
Send Client Invite Popup

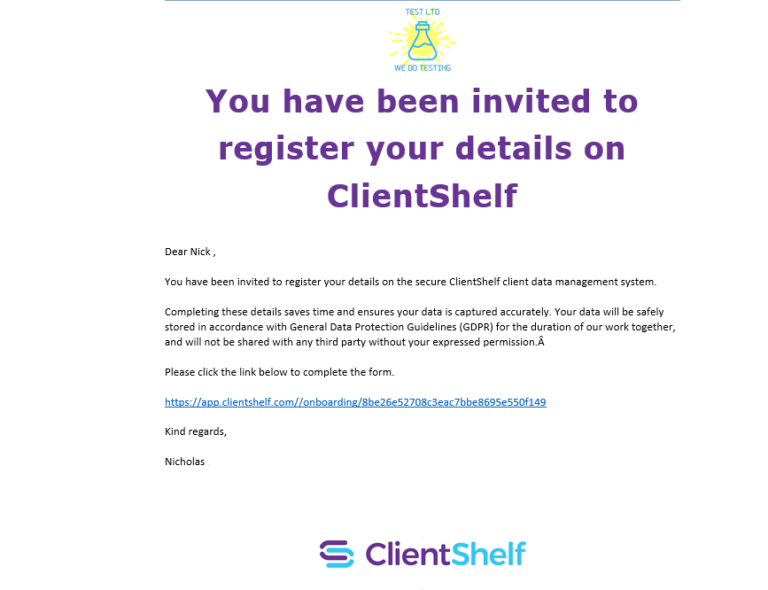
Registration Email

This will send your client an invite email and a link to enter their personal details. Please note that all email correspondence will have your logo at the top of the email.
Please note that some email servers may send the email to spam or junk. Please inform your client to look in these folders if the email doesn’t appear. We have done everything to prevent this but some email servers are more aggressive than others.
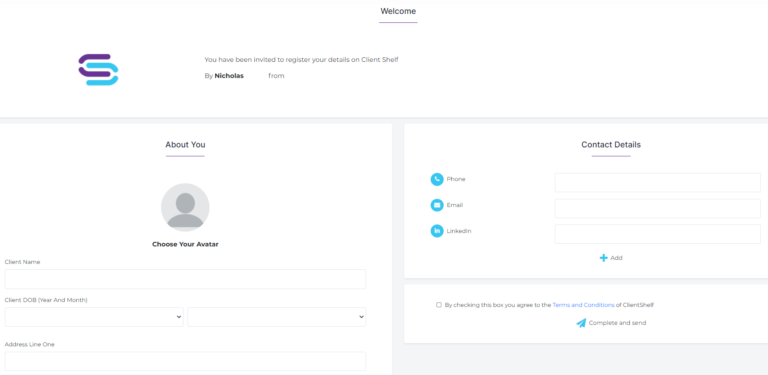
The link takes your Clients to the client details page where they can select a predefined avatar and enter their data.
A client does not have the ability to upload an avatar. You will have the ability to change the avatar or upload one in the Client Record after the client record is created.
The client details page will show your logo or photo, name and company (if applicable) so they know who invited them.
Once completed the client clicks the terms and conditions checkbox and then clicks Complete and Send
An email is sent to you letting you know the client has entered their details.
Client Form

You can click on Client Invites from the Clients menu to see the list of client invites you have sent out.
List of Invites

Here you have the ability to resend invites or delete invites.
Once a client has completed their details you can freely delete the invite.