-
Start here
-
Navigation
-
Adding a Client
-
Your ClientShelf
-
Tags Page
-
To-do List
-
Reporting
-
Questionnaires
-
Contacts
-
Calendar
-
My Account Menu
Add Clients Yourself
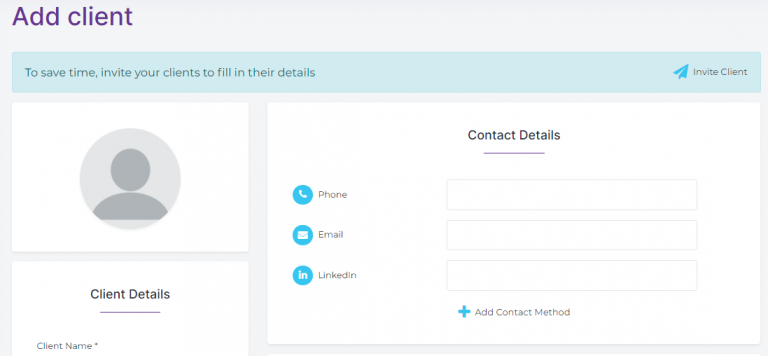
How to add clients yourself. Click Add Client either from Your ClientShelf or from the left menu. You will be taken to the Add Client form where you can manually enter all the details of your clients.
The Client Form

On the Add Client page, the Invite Client button (top right) is still available if you wish to send an invite instead.
Click on the profile picture to select an avatar or upload one by clicking Upload. Uploaded avatars must be 500 x 500 pixels and 250 kilobytes (250kB) maximum.
In the Contact Details section, a list of standard contact methods is shown you can add further methods by clicking Add Contact Method.
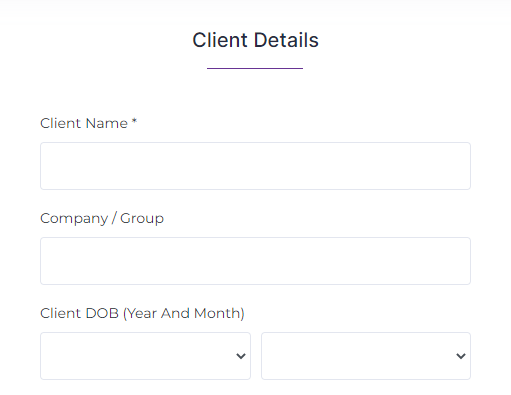
Add Client Details

Enter the client’s first and last name.
The Company/Group field is used if you have more than one client from the same source. i.e.: same company. When used you can filter clients with the Company/Group name in Your ClientShelf using the Search bar. This field is not displayed for Client Invites.
Enter the client’s year and month of birth (if known). This information is used to help identify your client demographic. The Reporting suite has a section dedicated to this information.

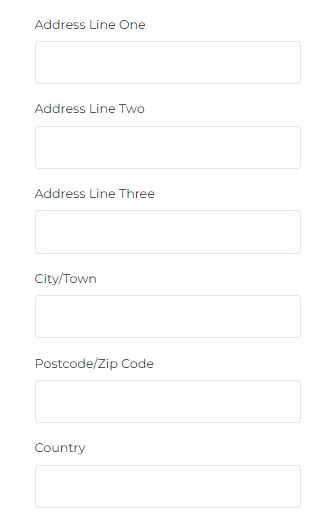
The last section is the client’s address (if known).
You can then Add a Service to your client or click Save.
A Service doesn’t need to be allocated to a client to create a client record.